Why “Nominal from Part” Is a Critical Mistake in CMM Programming
In 3D metrology, one of the most common — and most dangerous — shortcuts is creating nominal geometry directly from a real part.
This technique, often called “nominal from part,” may seem simple and fast, but it can completely compromise measurement accuracy, repeatability, and compliance with ISO GPS and GD&T requirements.
In this article, you’ll learn:
-
what “nominal from part” means
-
why it is risky
-
how it affects measurement and production
-
what ISO/ASME standards require
-
what you should do instead
What Does “Nominal from Part” Mean?
“Nominal from part” means creating planes, lines, circles, or datums by clicking directly on the surfaces of a real component, instead of using:
-
the CAD model
-
the technical drawing
-
GD&T definitions
-
ISO 1101 / ISO 5459 / ISO 8015 rules
It may look like a time-saving shortcut, but it introduces significant measurement errors.
1️⃣ Your Program Becomes Valid for Only One Part
If you create nominal geometry from a real part, your CMM program becomes dependent on the shape and manufacturing errors of that specific component.
The next parts will have:
-
different inclinations
-
different curvature
-
different machining deviations
-
different deformations
➡ Result: inconsistent and non-repeatable measurements.

2️⃣ Manufacturing Errors Become Your “Design Intent”
This is the most dangerous outcome.
If the surface of the part is:
-
tilted
-
deformed
-
warped
-
shifted
…all these defects become the “reference geometry” in your CMM program.
You no longer measure parts against the drawing —
you measure them against the defects of the part used during programming.
This contradicts ISO GPS and ASME GD&T at a fundamental level.
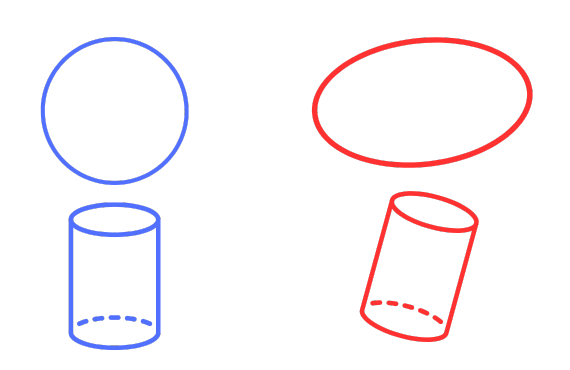
3️⃣ Circles Become Ellipses and Geometry Is Corrupted
If the nominal plane or surface is incorrect:
-
reconstruction vectors are wrong
-
circles are measured as ellipses
-
axes shift
-
position tolerances become unreliable
-
you get false NOK or false OK results
This directly affects the quality and credibility of the measurement report.
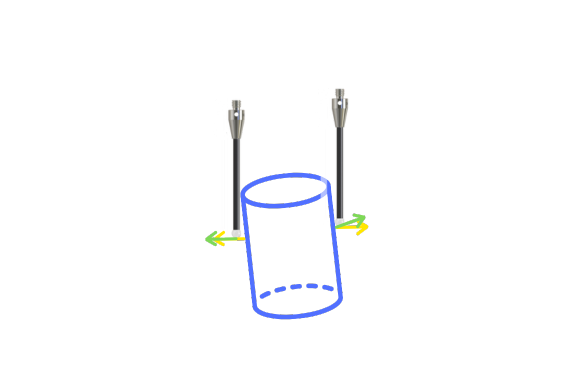
4️⃣ Collisions and Path Errors Increase
Incorrect nominals lead to:
-
wrong approach vectors
-
probe collisions
-
unstable path generation
-
missing points
-
unpredictable movements
A robust CMM program needs stable, standard-based nominal geometry.
5️⃣ Total Loss of Traceability — Major Risk in Audits
Audits such as:
-
IATF 16949
-
PPAP
-
VDA 6.5
-
customer audits
require proof of:
-
what was measured
-
what datum system was used
-
which GD&T definitions apply
-
alignment with ISO 8015 and ISO 1101
With nominal-from-part, you cannot prove any of these.
It is considered a major non-conformity.

What You MUST Do Instead
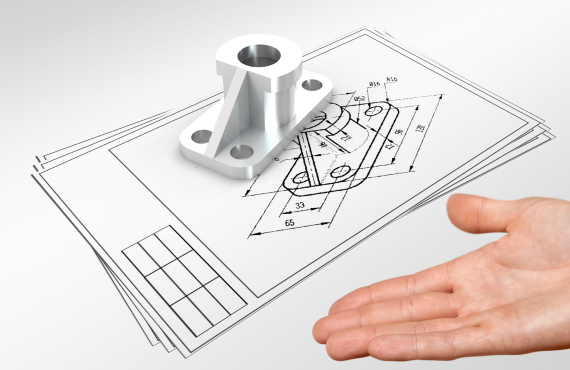
✔ Always use the CAD model or the drawing
This is the only correct source of nominal geometry.
✔ Follow ISO 5459 for datum definition
Datums must not be created from real parts.
✔ Use proper alignment strategies
-
RPS alignment
-
ISO-based datum systems
-
Best-fit (when allowed)
-
Constrained alignments for flexible parts (ISO 10579)
✔ If CAD is missing — request it
Never program a CMM based only on real parts.
Conclusion
A real part is for measurement, not for defining geometry.
Nominal-from-part is a risky practice that compromises:
-
repeatability
-
accuracy
-
program stability
-
traceability
-
ISO/ASME compliance
If you want professional, consistent, and audit-proof measurement:
Nominals must come from the drawing. Always.

